How to Use Midjourney to Create Images for Blog Posts


Creating unique and captivating images for your business blog posts doesn’t have to be a daunting task. With a tool like Midjourney and a bit of patience, you can generate images that stand out from the sea of generic stock photos. Here’s a step-by-step guide on how to use Midjourney to create business-related images for your blog posts.
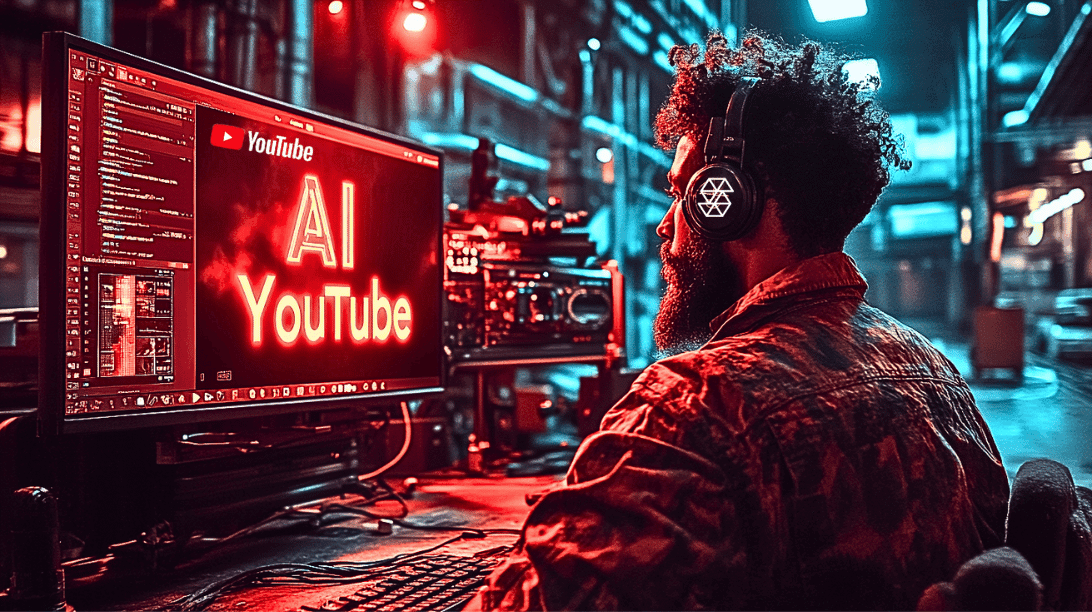
Step 1: Initial Prompt
To begin, you’ll need to command Midjourney to generate an image. This is done by typing “/imagine” followed by a description of the image you want to create. For instance, if you’re writing a blog post about innovative business strategies, you might use the prompt: “/imagine a futuristic business meeting in a high-tech conference room –ar 16:9”. The “–ar 16:9” part of the command instructs Midjourney to format the image in a 16:9 aspect ratio.
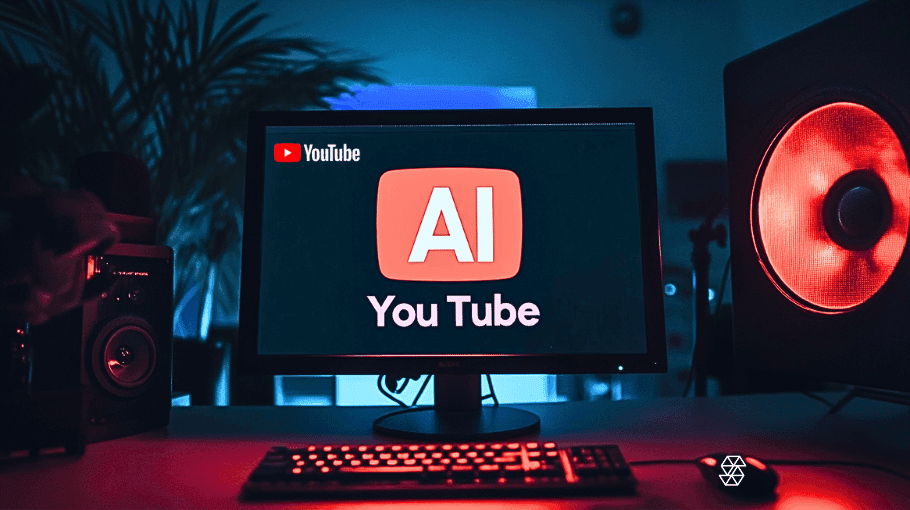
Step 2: Refinement
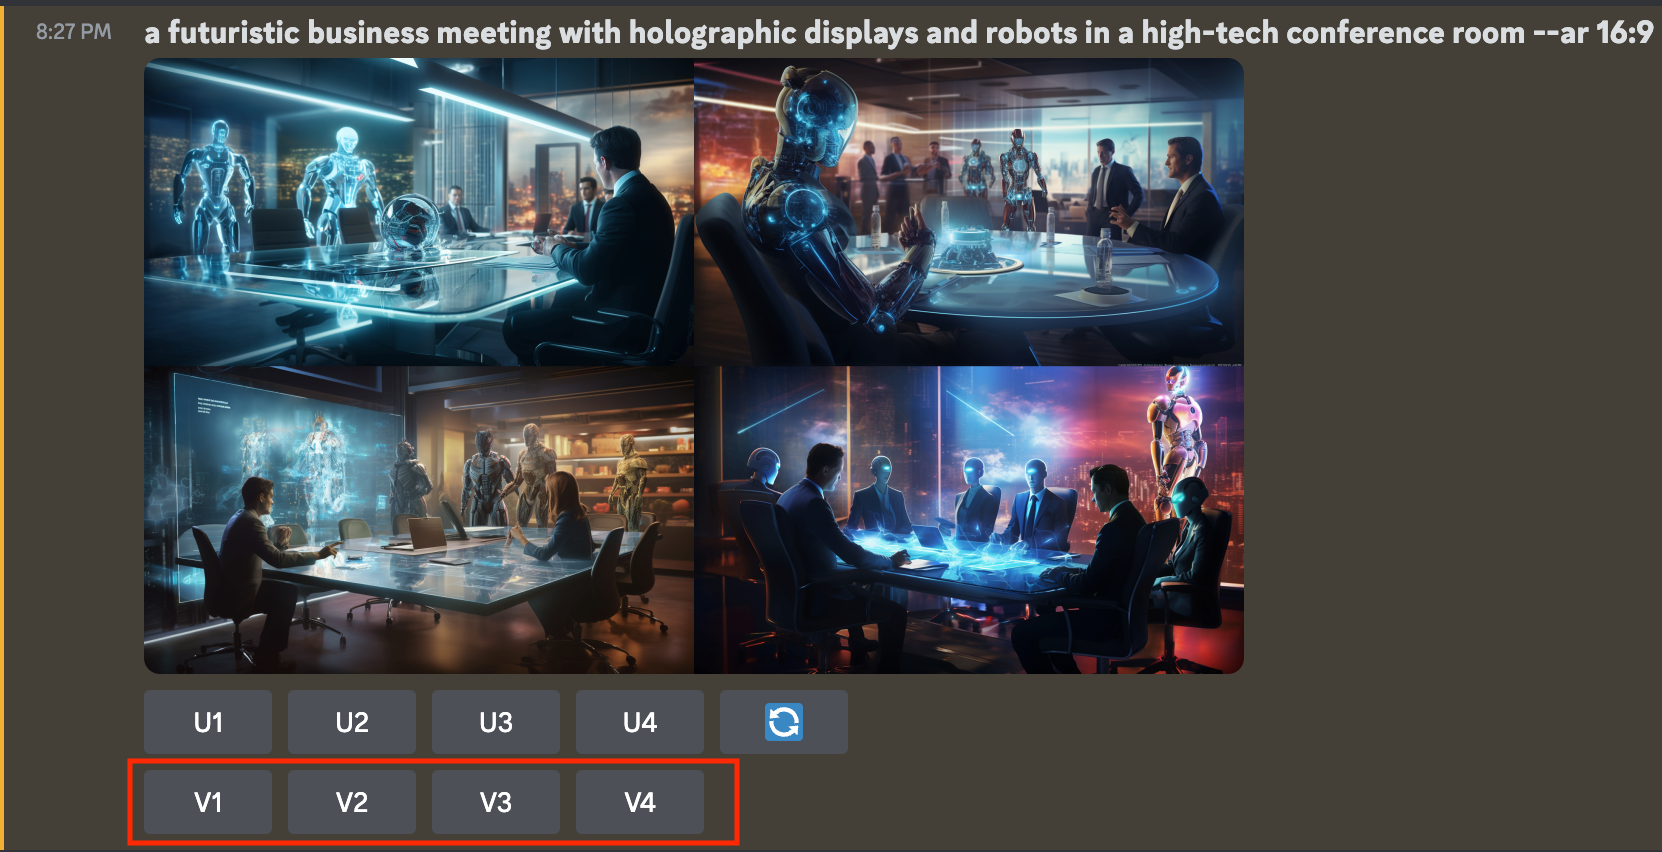
After the initial prompt, Midjourney will generate a set of images. If the results aren’t quite what you had in mind, you can provide Midjourney with more specific instructions. For example, if the images lack the high-tech elements you envisioned, you might refine your prompt to: “/imagine a futuristic business meeting with holographic displays and robots in a high-tech conference room –ar 16:9”.

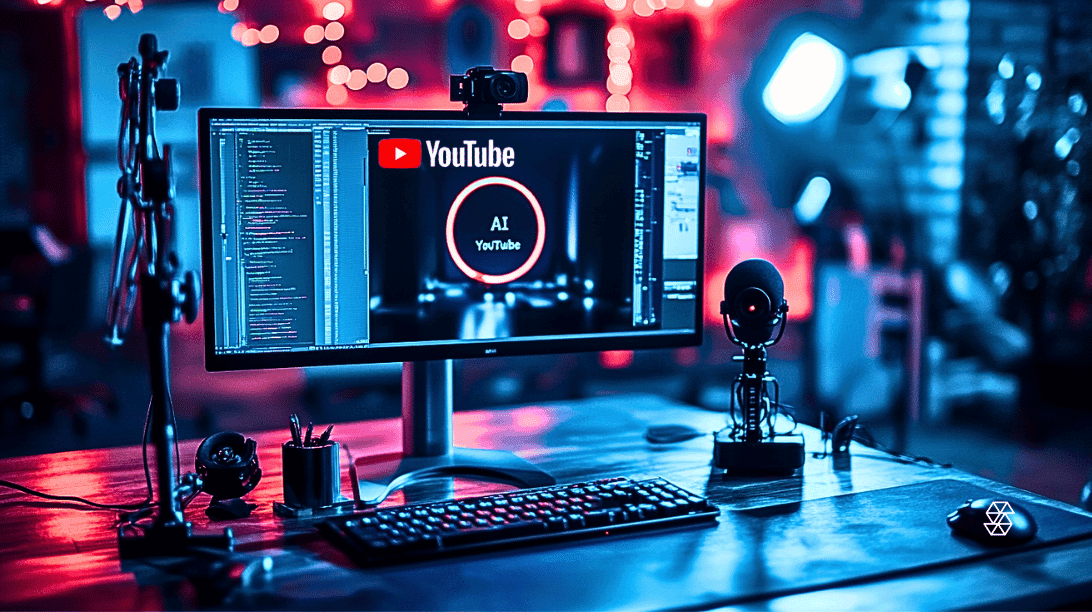
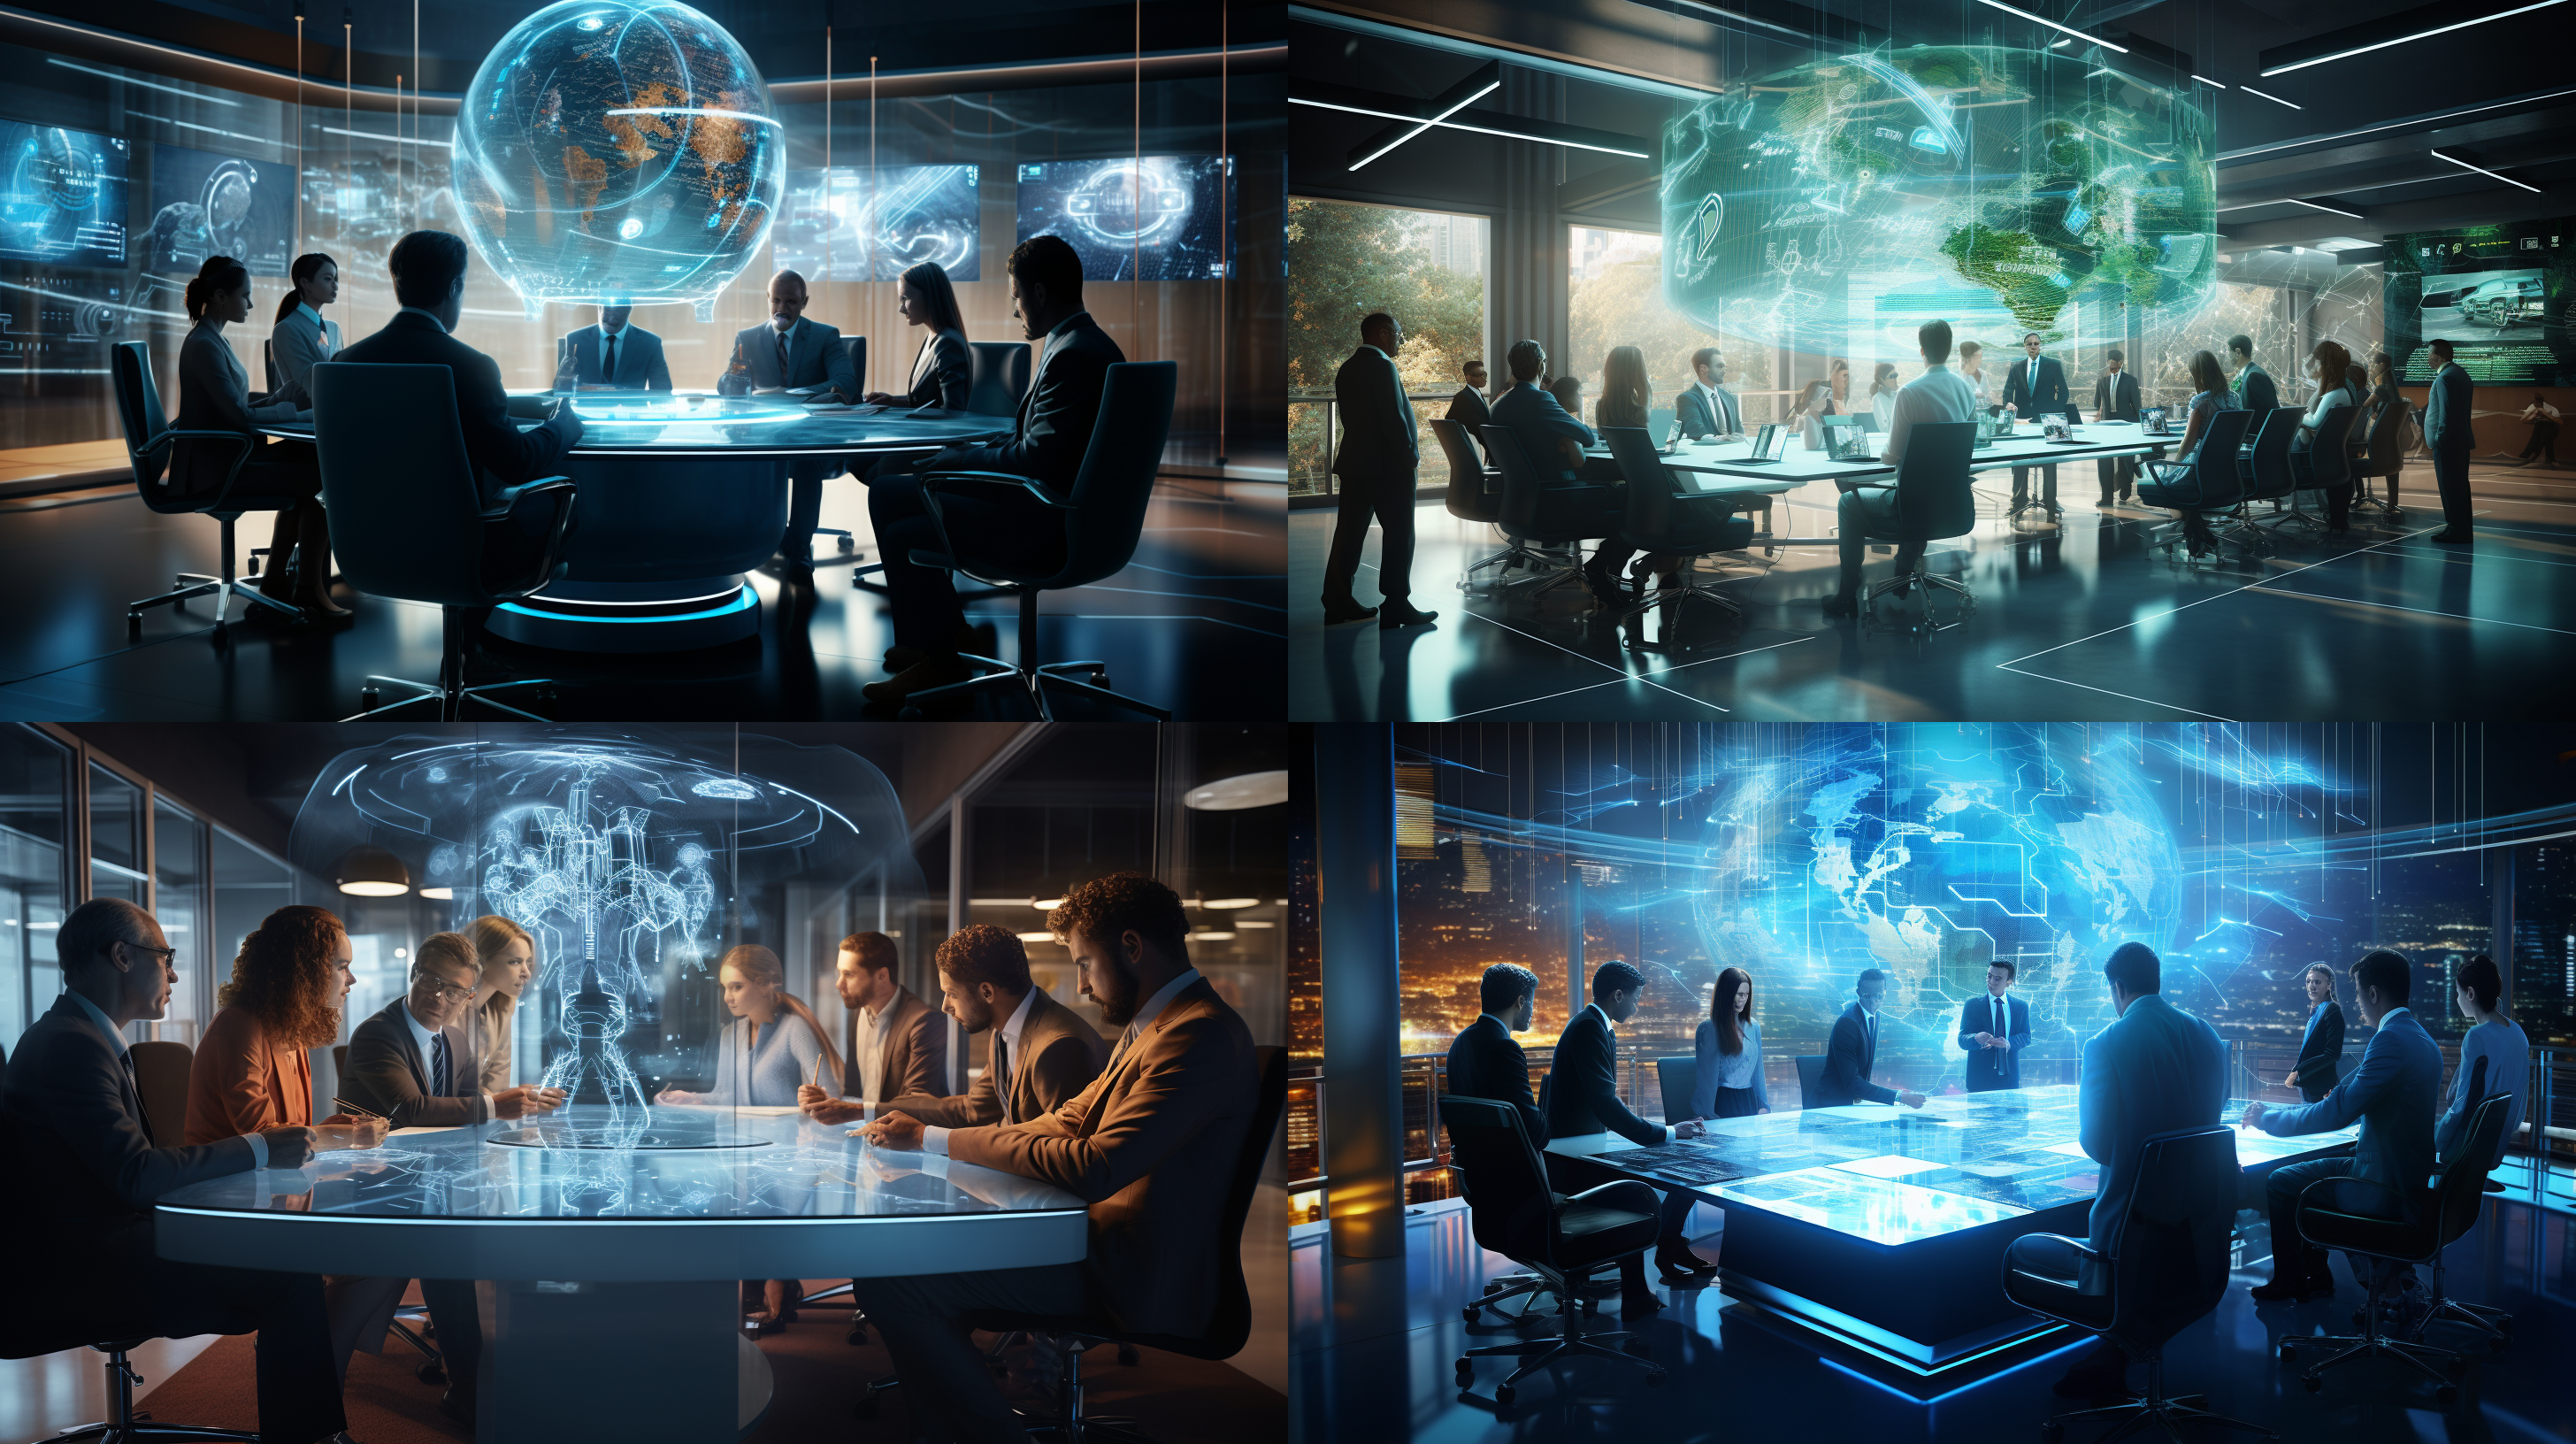
Step 3: Selection and Variation
Once you’re satisfied with the generated images, select the one that best fits your vision. If the image is close but not perfect, you can use the “V” button to create variations of it. This allows you to tweak the prompt and generate new images based on the selected one.
Step 4: Upscaling
After selecting the perfect image, you can enhance its quality by using the “U” button to upscale it. This will generate a single, higher-quality image based on the existing preview.

Step 5: Experimentation
With the fully rendered image, you can further vary it using the “Vary (Strong)” or “Vary (Subtle)” button. You also have other options like “Zoom Out 2x,” “Custom Zoom,” and “Make Square.”
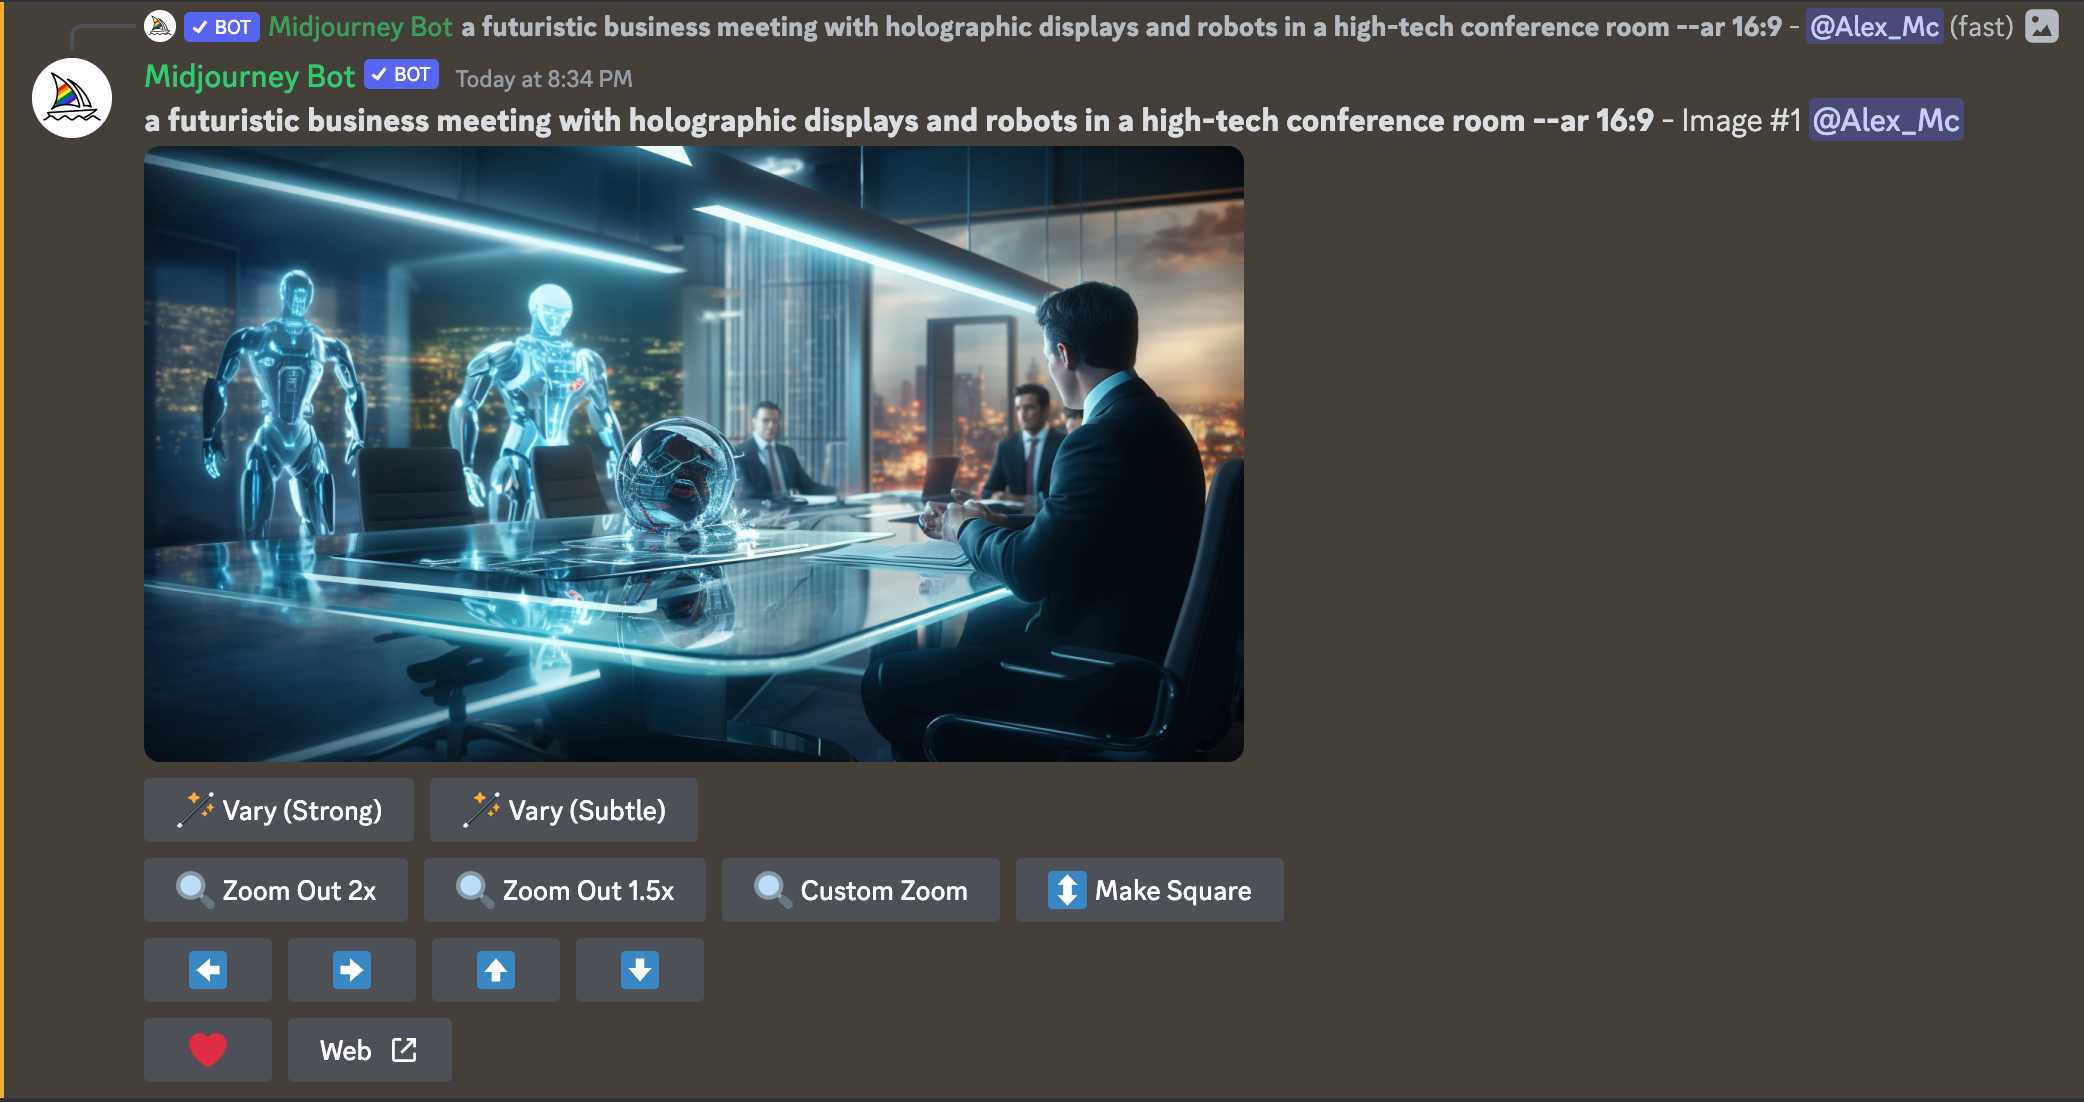
Step 6: Save Final Image
Once you have your final image, it’s time to save it. You want to click on the “Web” button, which will navigate to the Midjourney sites you can save a higher-quality final image.
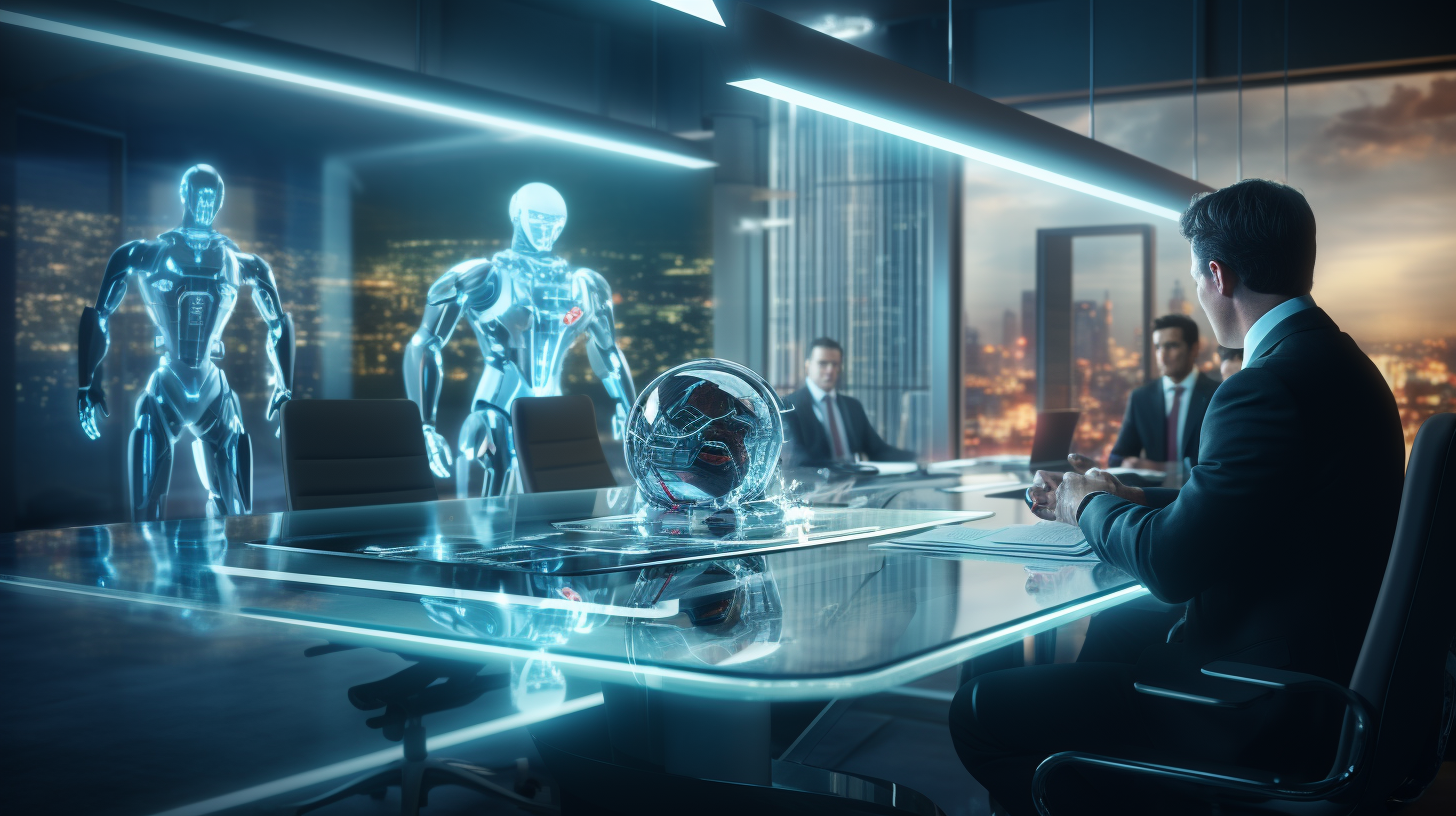
Remember, creating the perfect image with Midjourney is an iterative process. Don’t be afraid to experiment with different prompts and settings until you achieve the desired result. With a bit of practice, you’ll be creating unique and engaging images for your business blog posts in no time.